Homemade Caramel Apples Recipe – Easy Gourmet Treat
Homemade gourmet caramel apples are such a satisfying project, especially when you nail that perfect, chewy caramel. The contrast between the crisp, tart apple and the sweet, buttery coating is just classic. Making them at home lets you control everything, from the apple variety to the toppings, turning a simple treat into something truly special. It’s a fantastic autumn activity, whether you’re making them for a family gathering or just for a cozy evening. The secret really is in the caramel itself – getting it smooth and wonderfully chewy without being too hard or too sticky. This recipe guides you through creating that delicious caramel and offers ideas for decorating, so you can craft your own perfect homemade gourmet caramel apples.
Key Ingredients for Success
You’ll want the best ingredients for these. Use good quality tart apples like Honeycrisp or Granny Smith; their crispness holds up well. Unsalted butter gives you control over the saltiness, and good cream makes the caramel rich. Having sturdy sticks is important so your apples don’t end up on the floor.
Why Make Them at Home?
Store-bought caramel apples are fine, but homemade ones just hit different. You can ensure they’re fresh, use ingredients you trust, and get creative with toppings like chopped nuts, sprinkles, or even crushed cookies. It’s a fun way to get a gourmet result right in your own kitchen.
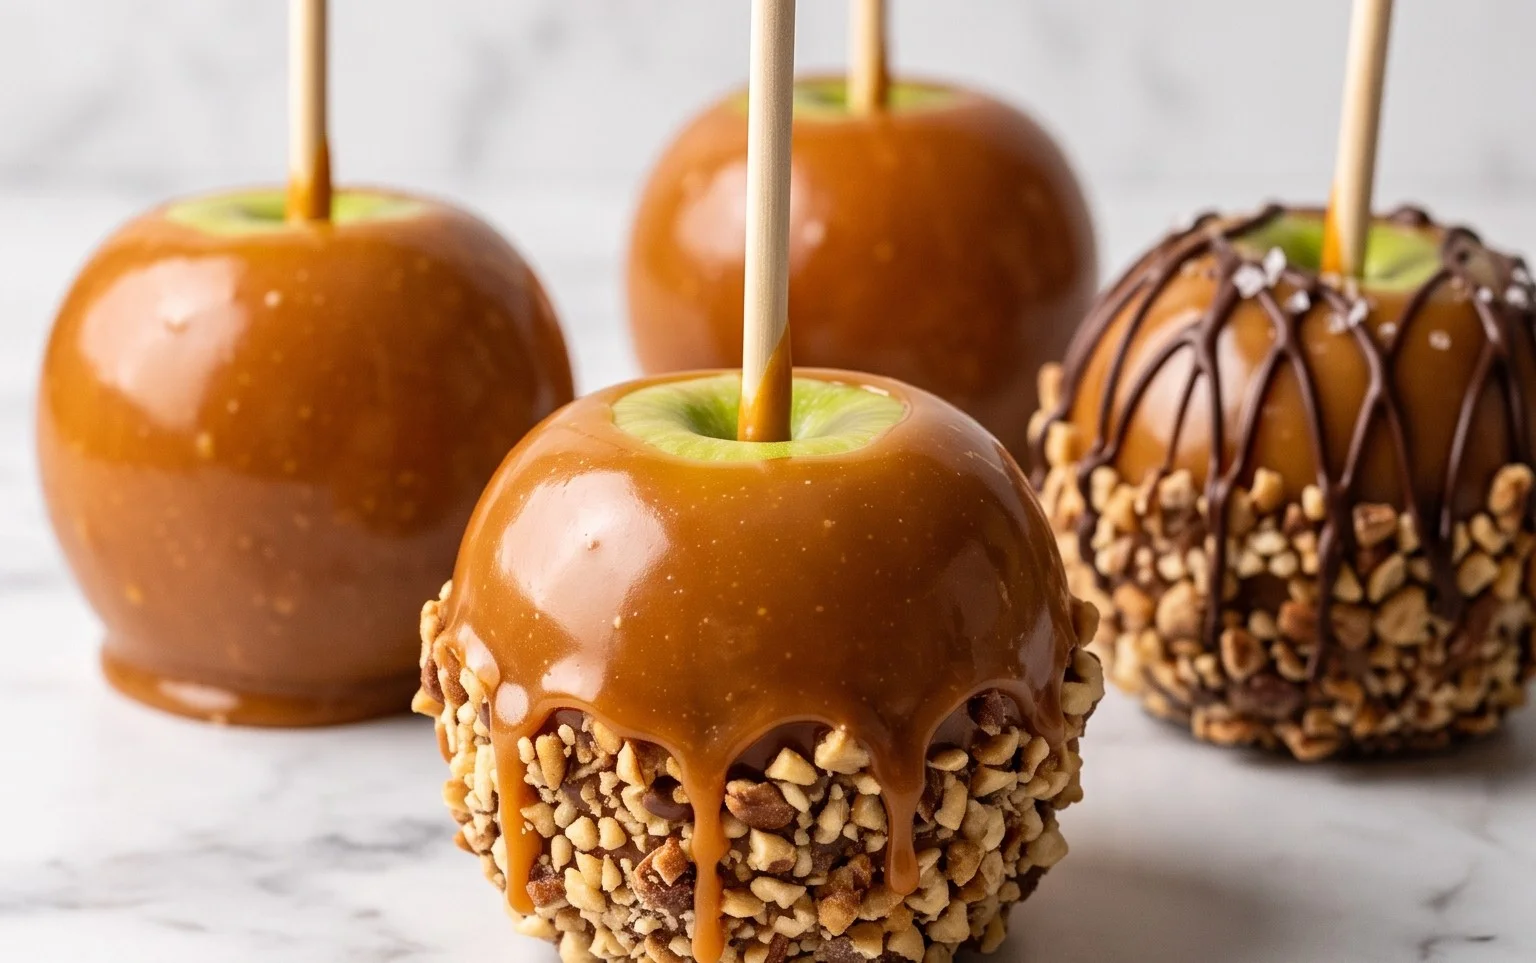
Homemade Gourmet Caramel Apples
Caramel apples are a classic autumn treat, but making them at home takes that nostalgia and elevates it into something truly special. The rich, buttery caramel coating a crisp tart apple is a delightful contrast in textures and flavors. This recipe focuses on achieving that perfect, chewy caramel that clings beautifully to the apple, and offers plenty of options for customizing your gourmet creations with your favorite toppings. The secret to great homemade caramel apples lies in both the quality of your ingredients and a bit of patience during the cooking process.
Ingredients:
- 12 medium tart apples (Honeycrisp, Granny Smith, or Fuji are excellent choices for their crispness and slight tartness, which balances the sweet caramel)
- 12 popsicle or candy sticks (sturdy ones work best to hold the weight of the apple and caramel)
- ¾ cup butter (unsalted is preferred so you can control the salt level)
- ¼ teaspoon salt (adjust slightly if using salted butter)
- 2 cups (15 ounces) granulated sugar
- 1 cup (11 ounces) light corn syrup (this helps prevent crystallization and ensures a smooth caramel)
- 2 cups cream (divided; you will only use 1 cup at first, the remaining 1 cup is for later adjustments or extra caramel)
- 1 tablespoon pure vanilla extract (use the good stuff for the best flavor)
- chocolate or candy dipping melts (about 1-2 cups, depending on how much you want to decorate; milk, dark, or white chocolate all work beautifully)
- crumbled cookies (e.g., Oreos, shortbread, graham crackers, about 1 cup)
- finely chopped nuts (pecans, walnuts, almonds, peanuts, about 1 cup)
- chopped candy bar pieces (Snickers, Kit Kats, M&M’s, about 1 cup)
- small candies or sprinkles (e.g. mini chocolate chips, m&m’s or reese’s pieces, about 1 cup)
Preparing the Apples and Sticks
First, thoroughly wash and dry your apples. It’s important to remove any wax coating apples sometimes have. You can do this by dipping them in hot water for a few seconds, then scrubbing gently with a vegetable brush. Dry them completely. Remove the stems and firmly insert a popsicle or candy stick into the stem end of each apple, pushing it about halfway into the apple. This ensures they are secure and won’t slip out once they’re coated in caramel. If your sticks feel loose, you can carefully twirl them or even use a tiny bit of melted caramel from an earlier batch to help them adhere better. Let the prepared apples sit at room temperature while you make the caramel; this helps the caramel stick better than if the apples are cold.
Making the Caramel Base
In a heavy-bottomed saucepan, melt the ¾ cup of butter over medium heat. Once the butter has melted, add the ¼ teaspoon of salt, the 2 cups of granulated sugar, and the 1 cup of light corn syrup. Stir these ingredients together until the sugar is dissolved and the mixture is smooth. Now, gradually pour in 1 cup of the heavy cream while continuously stirring. Bring this mixture to a boil over medium heat. Once it begins to boil, stop stirring and let it cook undisturbed. You’ll want to use a candy thermometer for accuracy. Let the caramel cook until it reaches 245°F (118°C), which is the firm ball stage. This usually takes about 10-15 minutes once it starts boiling. Stirring during this stage can cause the sugar to crystallize, so resist the urge!
Finishing the Caramel and Coating the Apples
Once the caramel reaches 245°F, immediately remove the saucepan from the heat. Carefully stir in the 1 tablespoon of pure vanilla extract. The mixture will bubble up considerably, so be cautious. Let the caramel cool slightly for a few minutes, until it’s still pourable but not scalding hot. If the caramel seems too thick after cooling for a few minutes, you can stir in a tablespoon or two of the remaining reserved cream until it reaches your desired consistency for dipping. Now, tilt the saucepan to create a deeper pool of caramel. Dip each prepared apple into the caramel, twirling it gently to coat the entire surface. Let any excess caramel drip back into the pan. This part can be a little messy, so a large baking sheet lined with parchment paper or a silicone baking mat is your best friend here. Place the caramel-coated apples on the prepared baking sheet to set.
Adding Gourmet Toppings
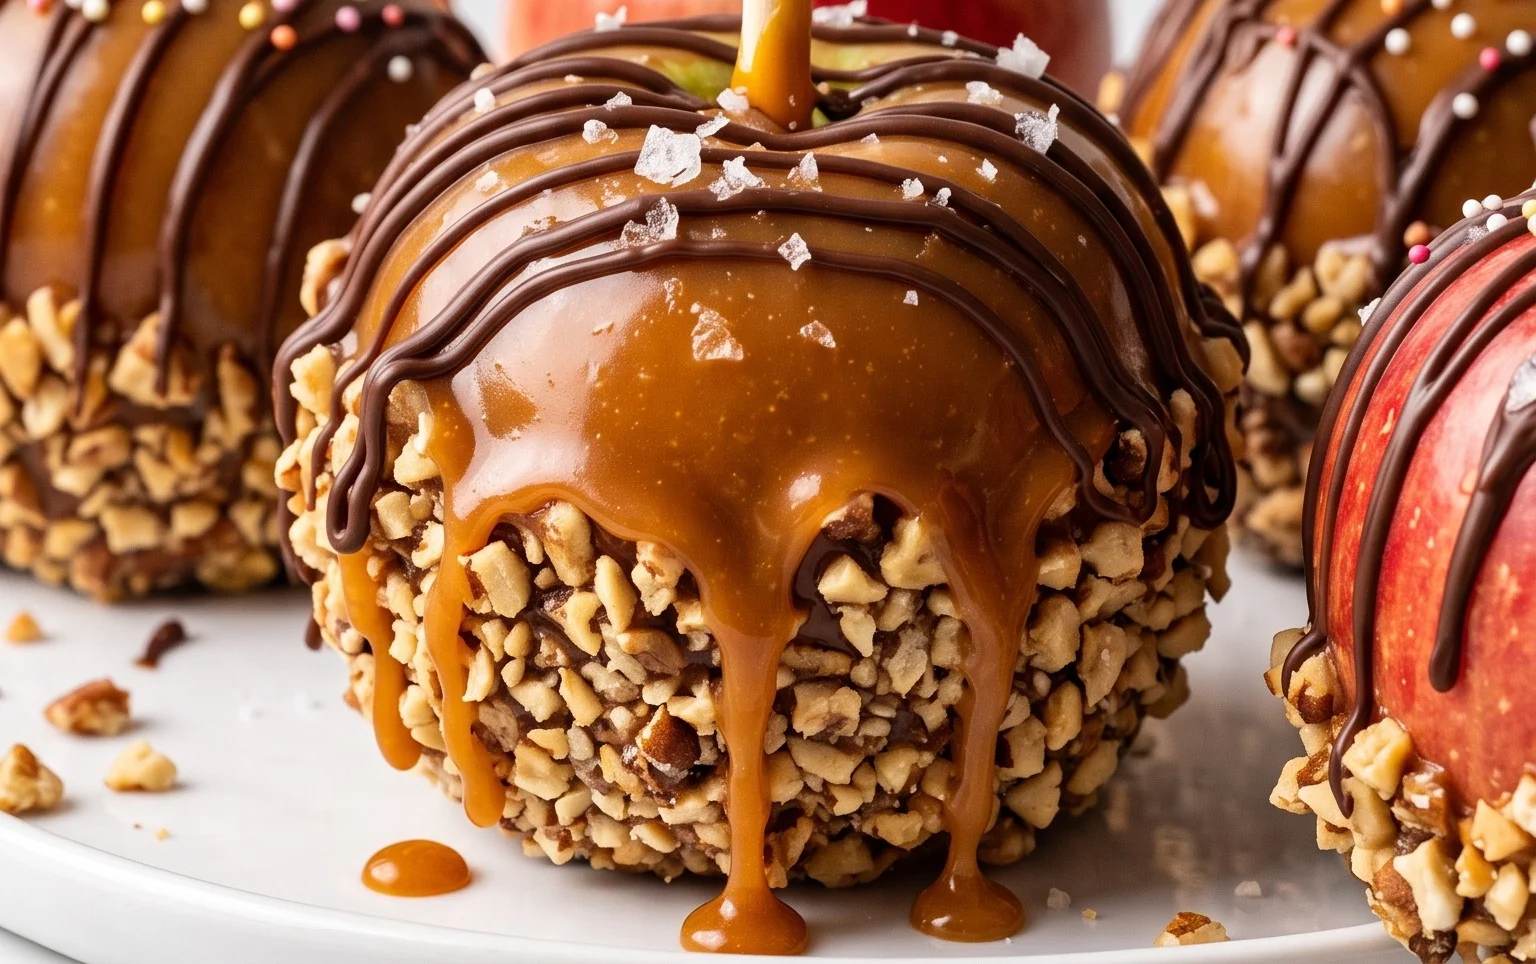
This is where you get creative! While the caramel is still slightly warm and tacky (but not molten), immediately roll or press your chosen toppings onto the apples. You can dip the bottoms into crumbled cookies or chopped nuts, drizzle melted chocolate over the caramel, or press whole candy bar pieces into the sides. If you want a combination of toppings, you can do one type on the bottom half and another on the top. For a chocolate drizzle, melt your dipping melts according to package directions (usually in the microwave in 30-second intervals, stirring between each, or in a double boiler) and use a spoon or a piping bag to create decorative swirls over the caramel. Have all your toppings prepped and ready to go before you start dipping, as the caramel sets quite quickly.
Setting and Enjoying
Once all your apples are dipped and decorated, let them sit at room temperature for about 30 minutes to allow the caramel and any chocolate to firm up. Then, you can transfer them to the refrigerator for about 1-2 hours to fully set. Once completely firm, they are ready to be enjoyed. Homemade caramel apples are best eaten within a few days and should be stored in an airtight container in the refrigerator. The cold can make the caramel a bit harder, so you might want to let them sit at room temperature for 10-15 minutes before serving if you prefer a chewier caramel. These make fantastic gifts or additions to any fall gathering.
Conclusion:
Making homemade gourmet caramel apples is a rewarding experience that yields a delicious, impressive treat. The combination of tart apples and rich, chewy caramel is a classic for a reason, and customizing them with your favorite toppings makes them uniquely yours. Whether for a fall festival, a holiday party, or just a fun weekend project, these homemade caramel apples are sure to be a hit. Don’t be intimidated by the caramel-making process; follow the steps carefully, and you’ll get a wonderfully smooth, chewy coating. Enjoy the process and the delicious results!
Serving and Variations
Serve these caramel apples once the caramel has set. They’re perfect on their own or as part of a dessert platter. For variations, consider drizzling melted chocolate over the caramel, rolling them in crushed pretzels for a sweet and salty crunch, or adding a sprinkle of sea salt on top. You can also experiment with different apple types, but always choose crisp varieties.
Frequently Asked Questions
How do I store homemade caramel apples?
Store your homemade caramel apples at room temperature on parchment paper for up to 2 days. If your kitchen is very warm or humid, it’s better to store them in the refrigerator, but be aware that condensation can sometimes make the apples slightly watery or the caramel soft. Let them come back to room temperature for a few minutes before serving if refrigerated.
My caramel is too thin, what went wrong?
If your caramel is too thin, it likely didn’t cook long enough or didn’t reach a high enough temperature. Caramel needs to reach the softball stage (around 235-240°F or 113-116°C) to set properly. Ensure you’re using a candy thermometer and cooking the mixture until it reaches this temperature. Adding the cream too quickly can also sometimes affect consistency.
Can I make the caramel ahead of time?
While it’s best to make the caramel just before dipping the apples for optimal texture and freshness, you can make it a few hours in advance. Store it in a warm place or gently reheat it over low heat, stirring constantly, until it’s pourable again. Avoid refrigerating the caramel as it will become very hard and difficult to work with.
Homemade Gourmet Caramel Apples
Elevate your fall treats with these decadent homemade gourmet caramel apples. A rich, buttery caramel coating complements tart apples, with endless topping possibilities for a personalized indulgence.
Ingredients
-
12 medium tart apples
-
12 popsicle or candy sticks
-
¾ cup butter
-
¼ teaspoon salt
-
2 cups granulated sugar
-
1 cup light corn syrup
-
1 cup cream
-
1 tablespoon pure vanilla extract
-
chocolate dipping melts
-
crumbled cookies
-
finely chopped nuts
-
chopped candy bar pieces
-
small candies or sprinkles
Instructions
-
Step 1
Wash and thoroughly dry the apples. Remove stems and insert popsicle or candy sticks firmly into the core of each apple. -
Step 2
In a heavy-bottomed saucepan, combine butter, salt, granulated sugar, and light corn syrup over medium heat. Stir constantly until the sugar is dissolved. -
Step 3
Bring the mixture to a boil, stirring occasionally. Continue to boil without stirring until the caramel reaches 320°F (160°C) on a candy thermometer. This is the hard-ball stage. -
Step 4
Remove from heat and carefully stir in 1 cup of cream and the vanilla extract. The mixture will bubble vigorously. -
Step 5
Working quickly, tilt the saucepan and dip each apple into the caramel, rotating to coat evenly. Let excess caramel drip off. -
Step 6
Immediately transfer the coated apples to a parchment-lined baking sheet. While the caramel is still wet, decorate with your desired toppings such as chocolate dipping melts, crumbled cookies, finely chopped nuts, chopped candy bar pieces, or small candies and sprinkles. -
Step 7
Let the caramel apples set completely at room temperature or in the refrigerator until the caramel is firm.
Important Information
Nutrition Facts (Per Serving)
It is important to consider this information as approximate and not to use it as definitive health advice.
Allergy Information
Please check ingredients for potential allergens and consult a health professional if in doubt.